Copenhagen MG seminar: Meat stock (part 3)
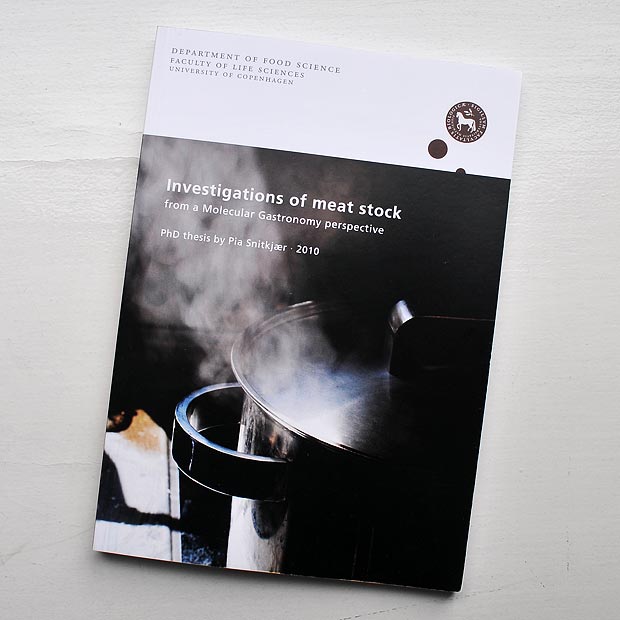
Pia Snitkjær’s thesis on Investigations of meat stock from a molecular gastronomy perspective can be downloaded free of charge. Part I includes an excellent introduction to molecular gastronomy, part II covers meat stocks with and without red wine. Pia Snitkjær was…