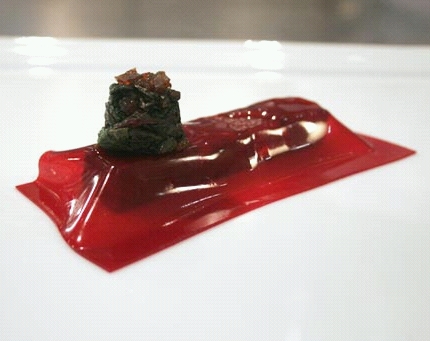
Edible cocktails with gelatin
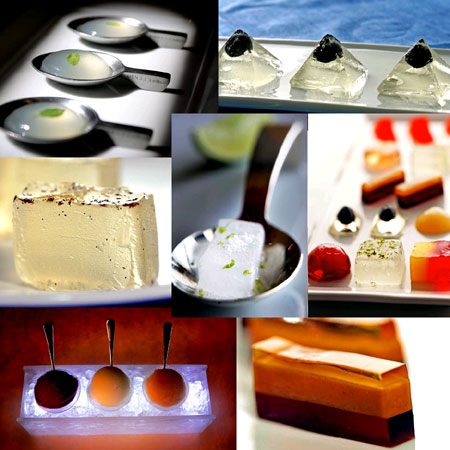
Recipes for Bluberry martini jelly shots (top right), B-52 jelly shots (bottom right), Prosecco gelée (middle left) and Gin and Tonic gelée (middle) are given below. Just wanted to point you to a beautiful picture gallery of edible cocktails accompanying…