TGIF: Science stunts for Christmas parties
Richard Wiseman has posted a lovely video with Top 10 science stunts for Christmas parties:
Richard Wiseman has posted a lovely video with Top 10 science stunts for Christmas parties:
Miss Silvia is full of surprises! She’s been around the house for a year, but only now did she reveal one of her hidden capabilities. Did you know that you can make scrambled eggs with the steam wand of your…

One of the more curious cookbooks I own is a German one entitled “Kochen und Backen nach Grundrezepten” (Cooking and Baking with Base recipes). It was first written in 1932 and has been updated regularily ever since. Each section typically…
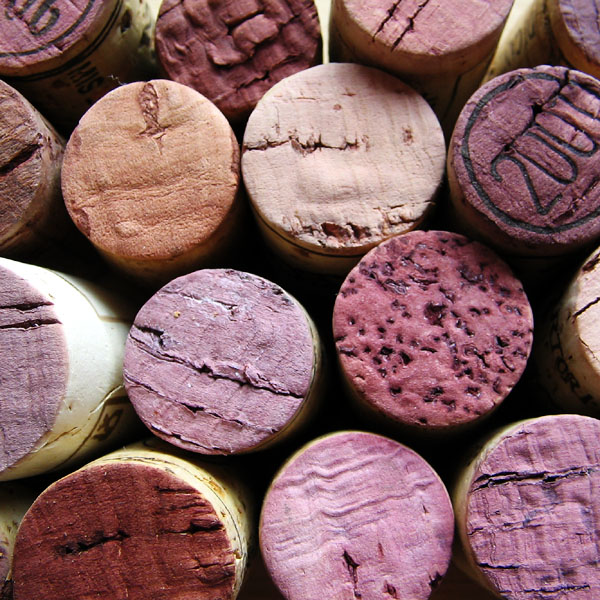
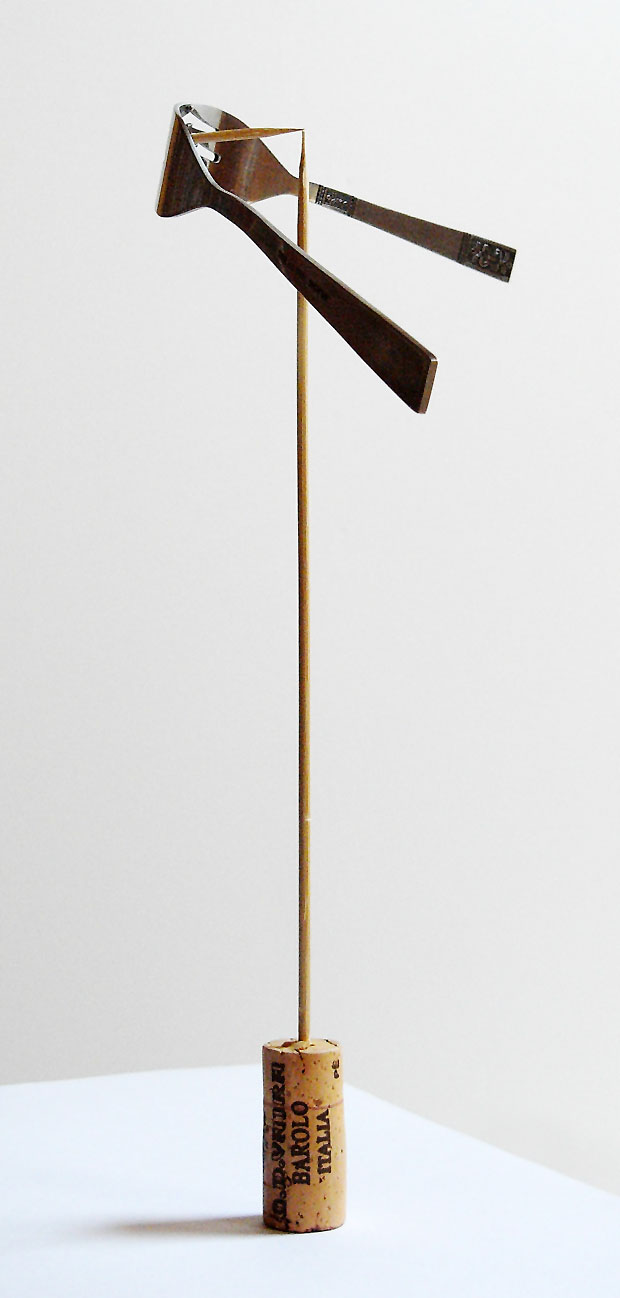
Can the natural process of aging wine in corked bottles be accelerated? I recently found an interesting article on how an electric field can be used for maturation of wine (New Scientist news coverage of the article). Applying a AC…

Douglas Baldwin with two immersion circulators and a vacuum chamber sealer. Since I got my immersion circulator in December I’ve discovered that there are two critical questions that always come up as I hold a piece of meat in my…
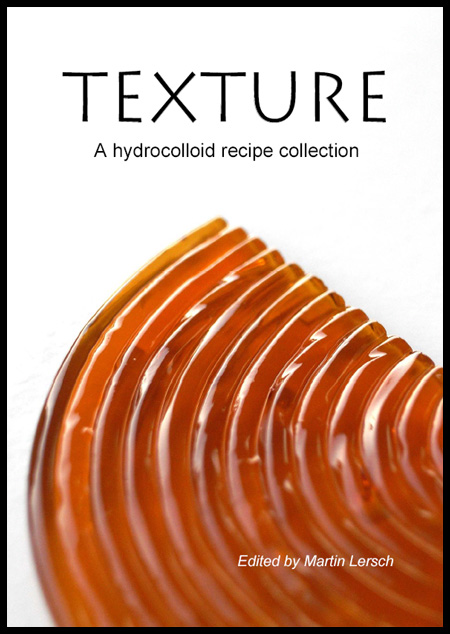
An updated version of “Texture – A hydrocolloid recipe collection” is now available for download (version 2.2). There are two file sizes available: screen resolution (~1 MB) and high resolution for printing (~5 MB). Some recipes have been added bringing…
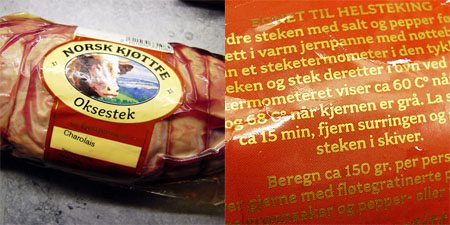
In the last couple of days I’ve encountered a special challenge when reading (and writing) English as a non-native speaker. It’s related to food and more specifically the different meat cuts available. As I read about sous-vide cooking I often…
Having received a real kitchen gadget before the weekend, I certainly had to do some sous-vide experiments. While shopping I looked specifically for meat that was already vacuum packed in plastic bags as I do not have a food saver.…
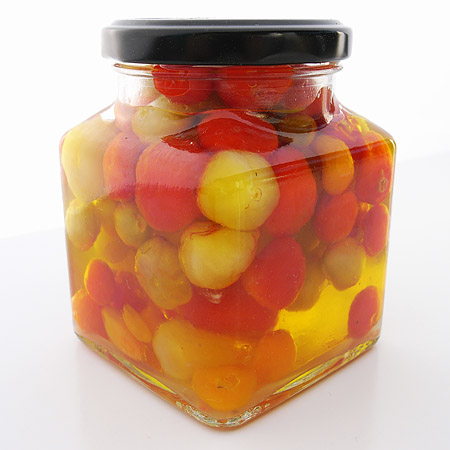
Brazilian chiles in oil (very nice with Moqueca!) Oils and fats are long molecules which are mainly non-polar and hence the opposite of water which is a polar molecule. Ethanol which has both a polar and a non-polar end falls…
There’s a new weekly cooking show you shouldn’t miss. It’s about cooking and science, or “Kamikaze cookery” to be more precise. And there’s a good dash of humor as well which doesn’t hurt. The first episode out is on how…