Maximizing Food Flavor by Speeding Up the Maillard Reaction
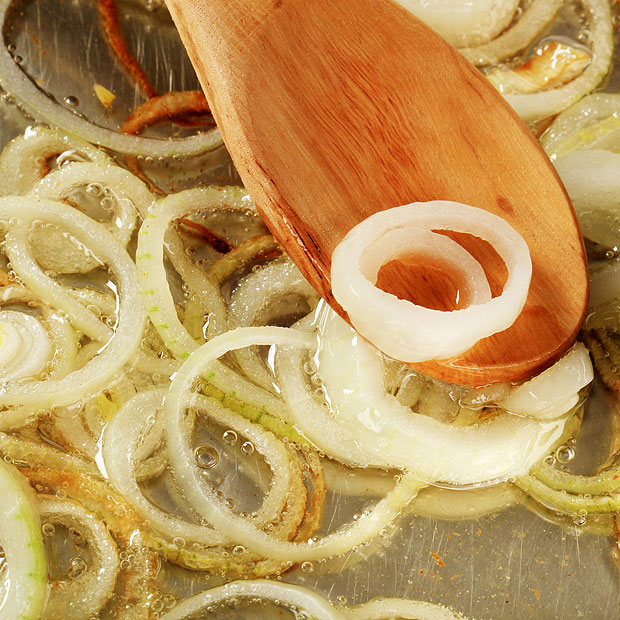
Is there a way to speed up the browning of onions? (Photo: Frying onion from Bigstock) An idea that struck me once was to add baking soda to browning onions. I chopped an onion, melted butter in a frying pan,…